No lens is perfect and they will all introduce varying levels of distortion to your images. There are four kinds of lens correction Lightroom can do for you:
- Barrel Distortion - the photo has a "bulging" effect, especially in the center
- Pincushion Distortion - a squeezing of the center that distorts images in an inward sense.
- Lens Vignetting - darkening of the sides and especially corners.
- Chromatic Aberration - fringes of color along edges of dark and bright parts of the image
 |
| Lens Correction Panel in Lightroom 5.2 |
Here is an example of automatic correction of the shot with my 24-105mm Canon lens.
 |
| Before Lens Correction |
 | |
| After Lens Correction |
The top version also has some lens vignetting that you can see shows up as darker areas of the sky in the corners.
 |
| Before |
 | |
| After |
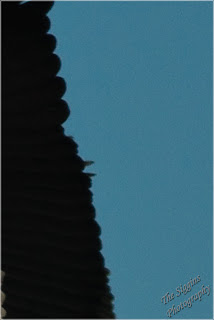
Above is an example of Chromatic Aberration. In the before version you can see a blue fringe at the edge of this bird's wing. In the second version I have clicked Remove Chromatic Aberration in the Lens Corrections Panel and the blue fringe goes away. The CA will be worse when there is a strong sharp line between the light and dark sections, when the lens aperture is small, and with a lower quality lens. If you do a Google search for Chromatic Aberration Examples you can see some better examples.
These are all nice features, but you don't want to have to turn them on for each image you are editing in Lightroom. I have created a preset with Enable Lens Corrections and Remove Chromatic Aberration checked. I then use that present when importing my photos.
Now when I import photos Lightroom will determine the lens and apply the appropriate lens corrections for me. Give this a shot next time you are editing in Lightroom and let me know what you think.
I'm always looking for new blog ideas. Have a question? What to see some kind of example? What do you want to see on this blog? Just drop me a note to r.siggins@charter.net and let me know.


No comments:
Post a Comment