Sleeklens provides a series of video tutorials on how to use the Through The Woods workflow. You can view those here - https://sleeklens.com/product/landscape-lightroom-presets/
What makes these different from the million and one other presets available? The biggest difference is these are designed to be used in a workflow. Presets are applied from global to more targeted changes. Then the brushes are used for changes to specific areas of an image. These all work together in a consistent fashion.
They are also stackable - each preset only changes specific settings for the named effect without changing other develop settings. This allows you to apply multiple presets to a photo.
To evaluate the presets and brushes I picked a few images from a recent trip and edited them. Here are the results.
If you click an image you will be able to view it larger and use the arrow keys to walk through each step.
Step 1 - Unedited RAW image from a Canon 5D Mark II, 24-105mm @105mm, f/14, 0.5 second, ISO 100.
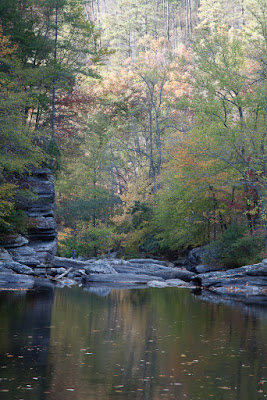 |
| Unedited Raw Image |
Step 2 - All In One - Shine Into the Sunset preset applied.
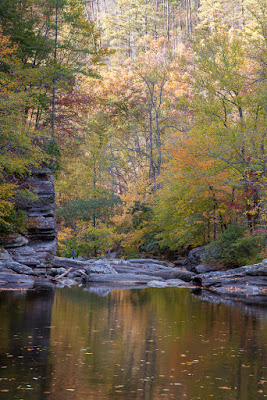 |
| Shine Into the Sunset Preset |
This brings up one issue I have with presets in general. This preset made these detail changes
That's more sharpening than I typically use. I applied the preset to multiple photos from different cameras at high and low ISO settings. In each case, the sharpening and noise reduction were the same, which may not be appropriate for all photos. When I applied the preset to an image taken on a Fuji XT-1 at ISO 1000 the level of noise introduced was not acceptable for me. I would have to reduce the sharpening and increase the noise reduction on that image. You have to be careful with any presets to make sure they aren't making changes you don't want.
Step 3 - Base - Autumn Colors. This preset made changes to the Hue, Saturation, and Luminance sliders to emphasize the warm colors. It also changed the Split Toning, overwriting those changes that were done in step 2.
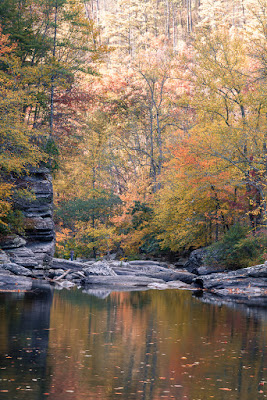 |
| Base - Color - Autumn Colors Preset |
Step 4 - Because the All In One and Base presets were changing too many things at once, I stepped into the Exposure presets. Applying the Exposure - Less Highlights changed the Tone Curve to reduce the Highlights and Lights. I like what this did for the brighter areas at the top of the image.
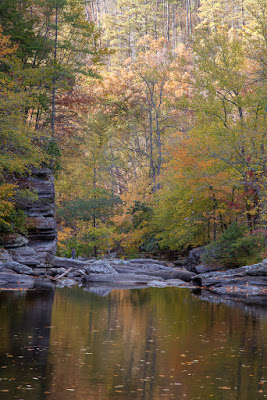 |
| Exposure - Less Highlights |
I then tried Polish - Punch It Up, which bumped up the Vibrance and Saturation. It also reduced the Clarity, which I didn't expect. I did like the effect and decided to keep it.
Step 6 - Vignette. I almost always apply a gentle dark vignette to my photos. I tried the Vignette - Medium Black and Vignette - Subtle Black presets and decided on something in between. I manually adjusted the Amount on the Post-Crop Vignetting to split the difference.
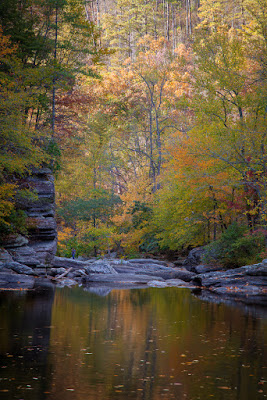 |
| Punch It Up and Dark Vignette Applied |
Step 7 - Adjustment Brushes. Adjustment Brushes are one of the most powerful tools in Lightroom and one I use often. Lightroom comes with a handful. Sleeklens adds several more. I applied the following brushes:
- Reduce Highlights to the upper center where the forest was still a little bright. This didn't go far enough so I dropped the exposure setting on the brush a little.
- Intense Sunlight to some of the trees where the leaves had started turning golden. This brush warmed the color (temp), brightened the highlights, bumped the saturation and applied an orange color. This was a bit too intense for me so I reduced the saturation of the orange color.
- Subtle Sunset Haze - I applied this to some of the trees to reduce the contrast, bump up the highlights, shadows, clarity, and saturation, and apply a light orange color. This is a more appropriate brush for this image.
There are many other brushes that I tried, but these three were all that I felt I needed on this image. Here's the final result.
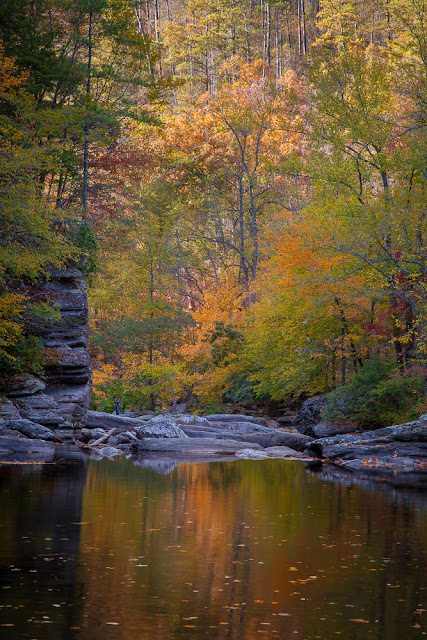 |
| Final |
That's just one example. Here are some before/after images
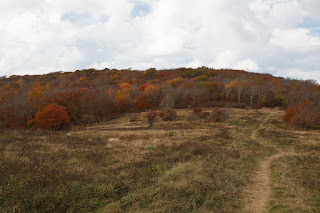 |
| Before |
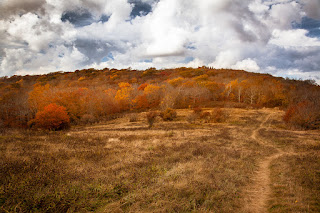 |
| After |
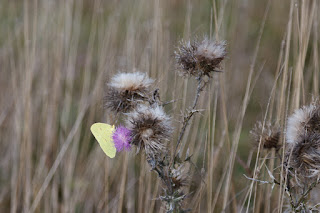 |
| Before |
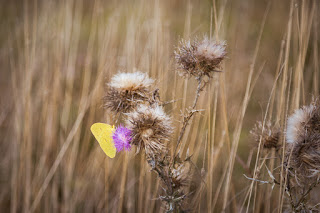 |
| After |
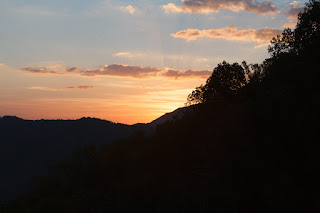 |
| Before |
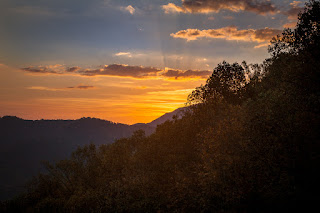 |
| After |
OK, if you have read this far you are looking for the bottom line. Everything that I did with the sleeklens presets and brushes could have been done manually. As a long time Lightroom user I can zip through post processing pretty fast and typically don't use presets. I do use brushes and having the sleeklens brushes will improve my productivity and creativity.
If I was new to Lightroom and didn't know how to manipulate all the myriad of adjustments to get a particular desired effect then the presets would be useful. They are short-cuts. Short-cuts will get you to somewhere faster, but may not get you what you want in the end. Even beginners should not rely on presets entirely.
All the sleeklens workflows, including Through The Woods, sell for $39 each. They also offer money saving bundles. Is it worth it? That's a tough call for me. An experienced Lightroom user may not find the workflows save them much time. Casual and beginner Lightroom users will probably find the workflows to be a great boost to their productivity and creativity.
There are many free presets that can be downloaded and installed at no cost. Just google "free lightroom presets" or "free lightroom brushes" and you will be presented with more options than you know what to do with. Why would you pay $39 for a set when you can find others for free? By purchasing the sleeklens presets you get a set of tools that work together well. The free stuff, maybe not so much.
Finally, I want to say that sleeklens provided a free copy of the Through The Woods workflow in return for an honest review. I have not been influenced by sleeklens and have given my honest opinion here.
I welcome questions. Just drop me a note on the Contact Me page on my main gallery - http://www.thesiggins.com/


No comments:
Post a Comment