High Dynamic Range or HDR is a popular technique for handling situations where the difference between the brightest and darkest parts of a photograph is too great for a digital camera to handle. HDR is so popular that it is built into cameras and even cell phones. However, HDR can produce images that appear unnatural. This may be fine for some subjects, but it's not typically a good choice for landscapes.
Here's a recent example. I took the following three images
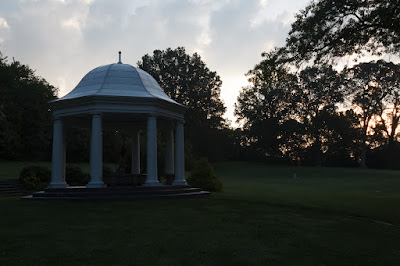 |
| 1 1/3 stops under-exposed |
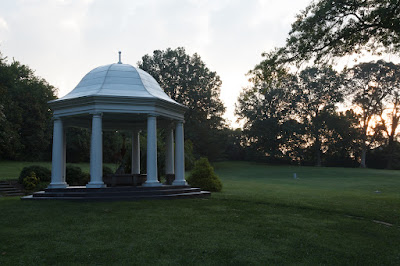 |
| Default exposure |
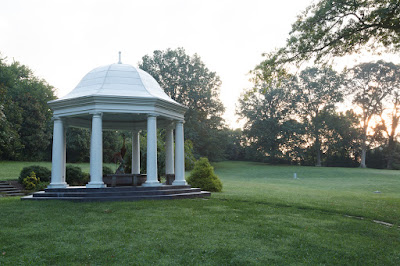 |
| 1 1/3 stops over-exposed |
Using the Google Nik HDR Efex Pro software I created an HDR image from these three.
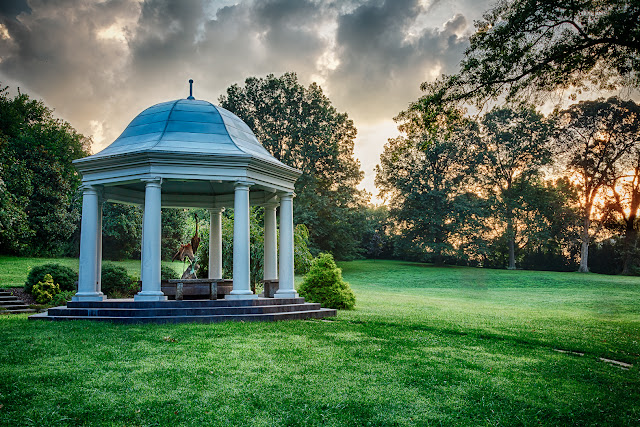 |
| HDR Image |
I used settings in the HDR software to create a result that was as natural as possible. I then used On1 Effects software to apply some filters to take away some of the harsh look in the image. As you can see, the HDR image just doesn't look right.
I then tried a new Photoshop technique called Apply Image Masking. I learned this from a recent article on the
Light Stalking website. In less than one minute in Photoshop, I created what I think is a much more realistic image. I then applied the same On1 Effect filters. Here is the end result.
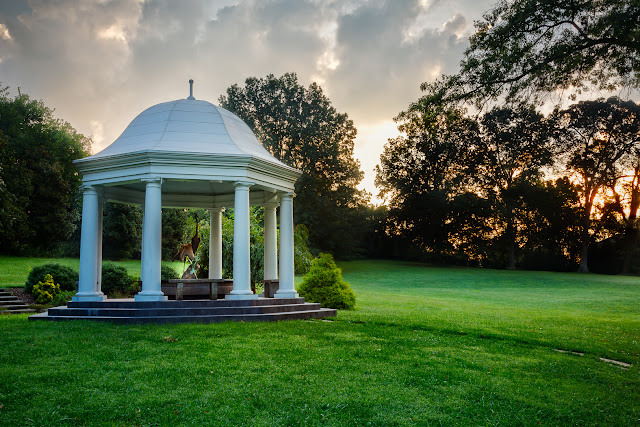 |
| Apply Image Masking in Photoshop |
Click on one of the images above and you will be able to use arrow keys to flip between the different versions.
I think I have found a new go-to tool for my image editing toolbox that I will use instead of HDR. This will not work for all situations. If there is movement between the different images, such as a person walking or trees blowing in the wind, defects will be produced that look like ghosts.
I love learning new things and the realm of digital photography is always changing. I wonder what I will learn today?


No comments:
Post a Comment